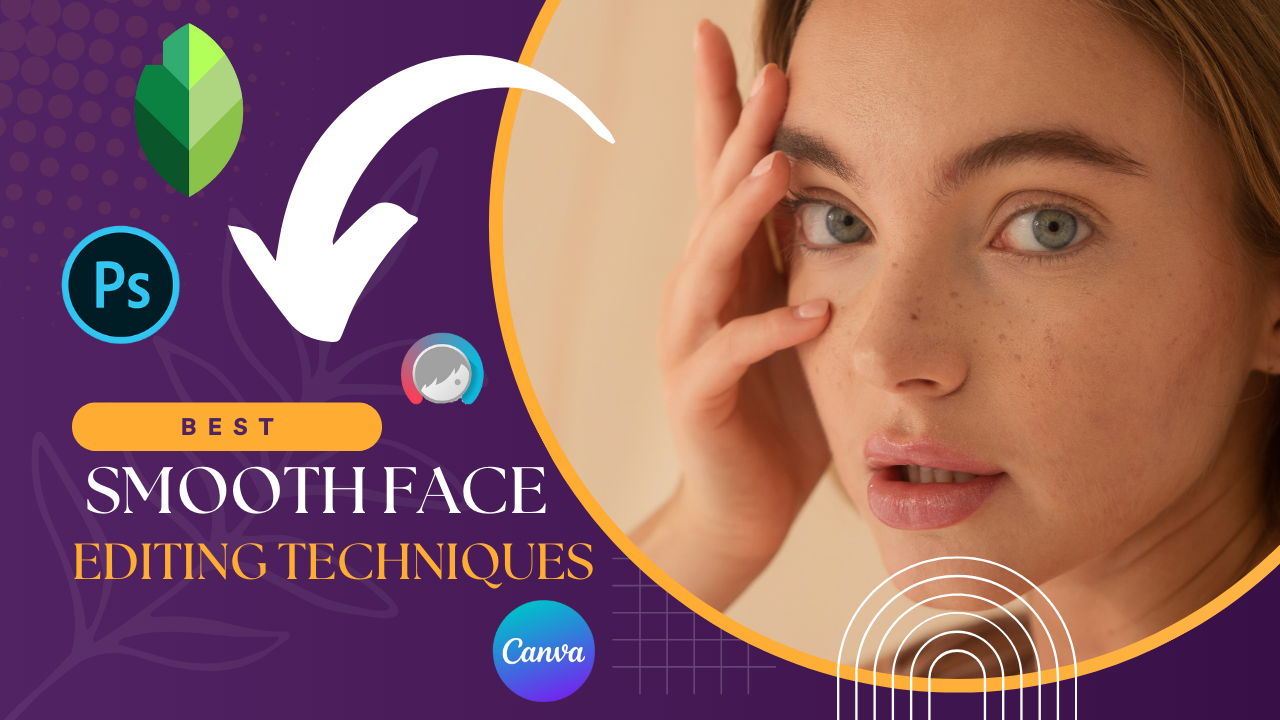
In the past, getting a smooth, polished portrait look in photos used to be a hassle, but with advanced editing tools and techniques, it’s gotten a lot easier. No matter what business you’re in, this detailed guide has everything that you need to know about effective smooth face editing techniques to get fantastic results.
Why Smooth Face Editing Is Essential
Smooth face editing makes your photos without blemishes, with textures getting softened and a professional look. It’s especially useful for:
- Social Media: Presenting polished photos that stand out.
Photography: Ensuring portraits meet client expectations.
Marketing: Highlighting products or services with professional-quality visuals.
Top Tools for Smooth Face Editing
Here’s a comparison of the best tools for face editing:
| Tool | Features | Ideal For | Pricing |
|---|---|---|---|
| Adobe Photoshop | Advanced retouching tools, AI-powered features | Professionals | $20.99/month |
| Facetune | User-friendly interface, quick edits | Social media enthusiasts | $7.99/month |
| Snapseed | Free and powerful editing tools | Beginners & hobbyists | Free |
| Canva Pro | Simple touch-up features, easy to use | Content creators | $12.99/month |
Step-by-Step Smooth Face Editing Techniques
1. Start with a High-Quality Photo
Make sure your base image has a good quality lighting and resolution. A picture lit well will require less editing.
2. Use Skin Smoothing Tools
Most editing apps and software include a skin-smoothing feature. Adjust the intensity to maintain a natural look.
- In Photoshop: Use the “Frequency Separation” method for precise control.
- In Facetune: Apply the “Smooth” tool with adjustable levels.
3. Remove Blemishes and Imperfections
Use spot healing or clone tools to remove blemishes, acne, or wrinkles without over-editing.
4. Adjust Skin Tone and Color
Enhance skin tone using color correction features to add vibrancy or reduce redness. Tools like Snapseed’s “Healing” brush or Photoshop’s “Color Balance” can be highly effective.
5. Refine Details
Sharpen key facial features like eyes, lips, and eyebrows to draw attention. Use subtle enhancements to avoid an artificial look.
Tips for Effective Face Editing
- Maintain Realism: The face can look unnatural from over editing. Keep edits subtle.
- Use Presets: Quick, consistent edits are easy, thanks to a ton of apps that provide pre designed filters, templates and more.
- Zoom In for Precision: Small areas work best as they give you the ability to work on their own in isolation which will help to avoid distortion of your stones.
- Practice Moderation: Do not blur all the textures of your facial textures, facial skin has pores and facial lines.
Common Mistakes to Avoid
| Mistake | Solution |
|---|---|
| Over-smoothing | Adjust intensity settings to retain natural texture. |
| Ignoring Lighting | Match edits with the photo’s lighting for a cohesive look. |
| Using One-Size-Fits-All Edits | Customize edits to suit individual photos for better results. |
Applications of Smooth Face Editing
| Use Case | Description |
|---|---|
| Professional Portraits | Perfect for wedding, fashion, and corporate photography. |
| Social Media Posts | Enhance selfies and group photos for Instagram, Facebook, etc. |
| Marketing Materials | Create polished images for ads, brochures, and websites. |
CLICK HERE: 3D AI Image creation
Final Thoughts
Smooth face editing is something that will give your photos a professional look. You don’t have to be a professional photographer with thousands of dollars in equipment to take beautiful portraits that will have people talking.
Ready to enhance your photos? Start experimenting with these techniques today, and see your images change today!


